> ## Documentation Index
> Fetch the complete documentation index at: https://docs.smartsend.io/llms.txt
> Use this file to discover all available pages before exploring further.

# Quick start guide

> Set up your Smart Send account and start shipping in minutes.

We have made it super simple to get started with Smart Send. Simply register a user and then we guide you step-by-step and you should be setup in a matter of a few minutes.

## Create your Smart Send account

Use the signup form to create your account. You’ll be logged in automatically and guided through the initial setup steps.

<Card title="Sign up for Smart Send" icon="user-plus" href="https://app.smartsend.io/register">
  Create your free account to get started.
</Card>

<Note>
  No credit card is required to get started. Simply create an account and get 30-day free trial with access to all of our features.
</Note>

## Set up your account

Go to the <Link href="https://app.smartsend.io/register">signup page</Link> and create your account. After registration, you’ll be logged in and see the onboarding steps.

<Steps>
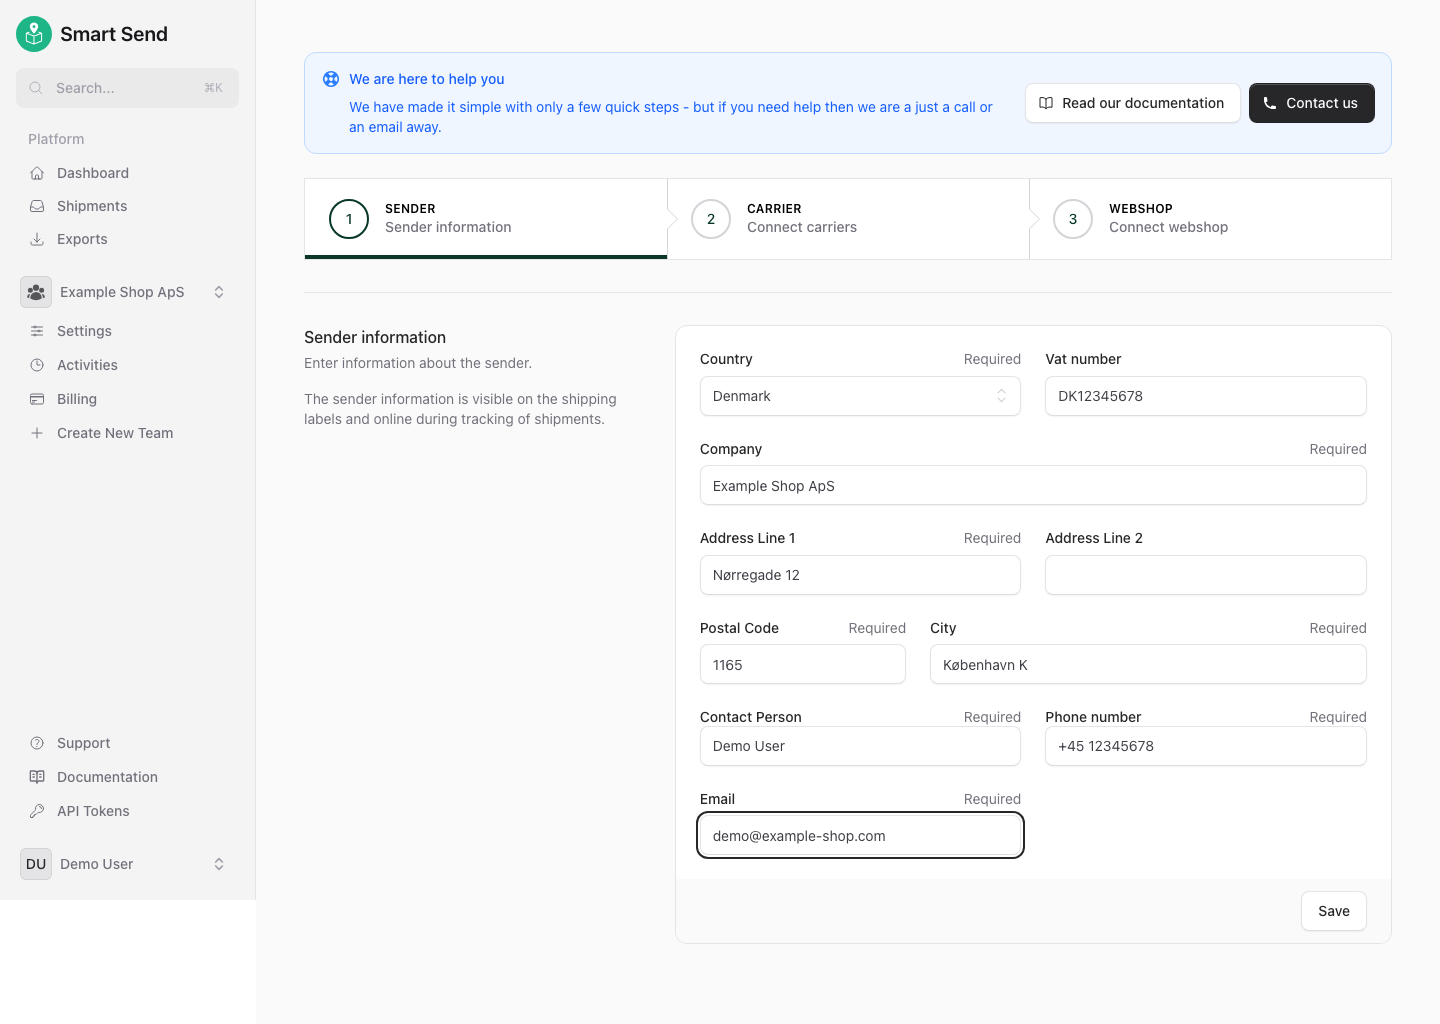
  <Step title="Add your sender address">
    Enter your main business or warehouse address. This address appears on shipping labels and tracking pages.

    <img src="https://mintcdn.com/smartsend/nrzFBZazgvLEikrr/images/onboarding/sender-filled.png?fit=max&auto=format&n=nrzFBZazgvLEikrr&q=85&s=2d653dadf2f90768ff994f4e190921c9" alt="Onboarding sender address form with business details filled in" className="rounded-lg" width="1440" height="1024" data-path="images/onboarding/sender-filled.png" />
  </Step>

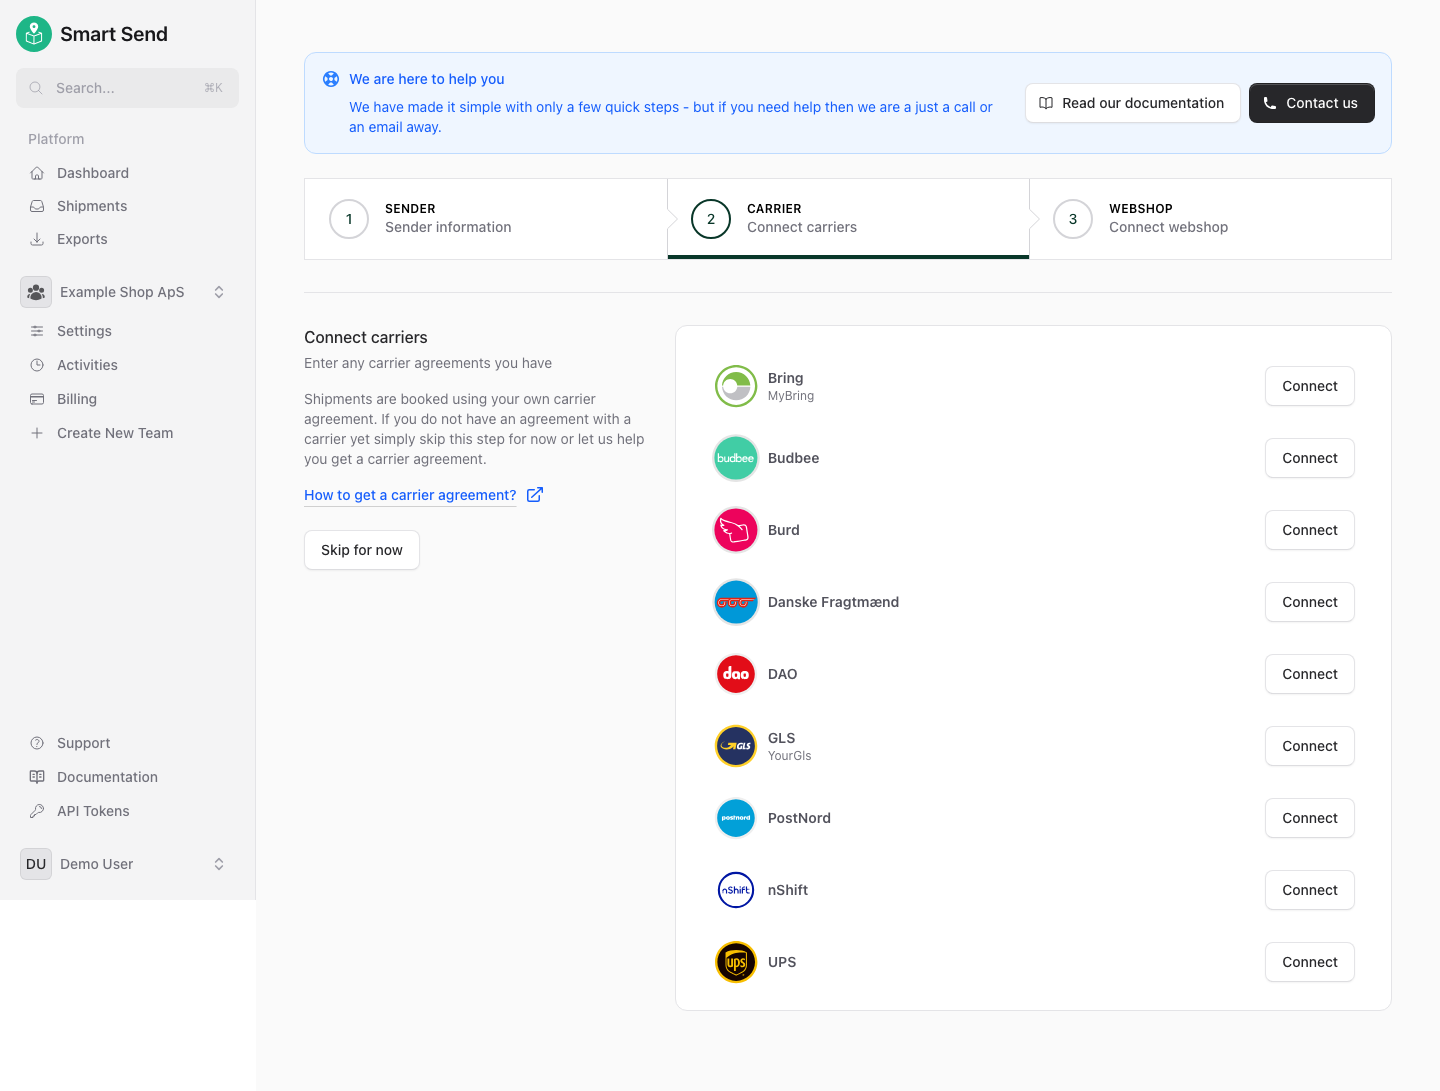
  <Step title="Add your carrier(s)">
    Connect your shipping carrier(s) to enable label creation and tracking. See details for your carrier <Link href="/carriers/overview">here</Link>.

    <img src="https://mintcdn.com/smartsend/nrzFBZazgvLEikrr/images/onboarding/carrier-selection.png?fit=max&auto=format&n=nrzFBZazgvLEikrr&q=85&s=359477d0515dc95dd955713e079a885f" alt="Onboarding carrier selection step" className="rounded-lg" width="1440" height="1091" data-path="images/onboarding/carrier-selection.png" />
  </Step>

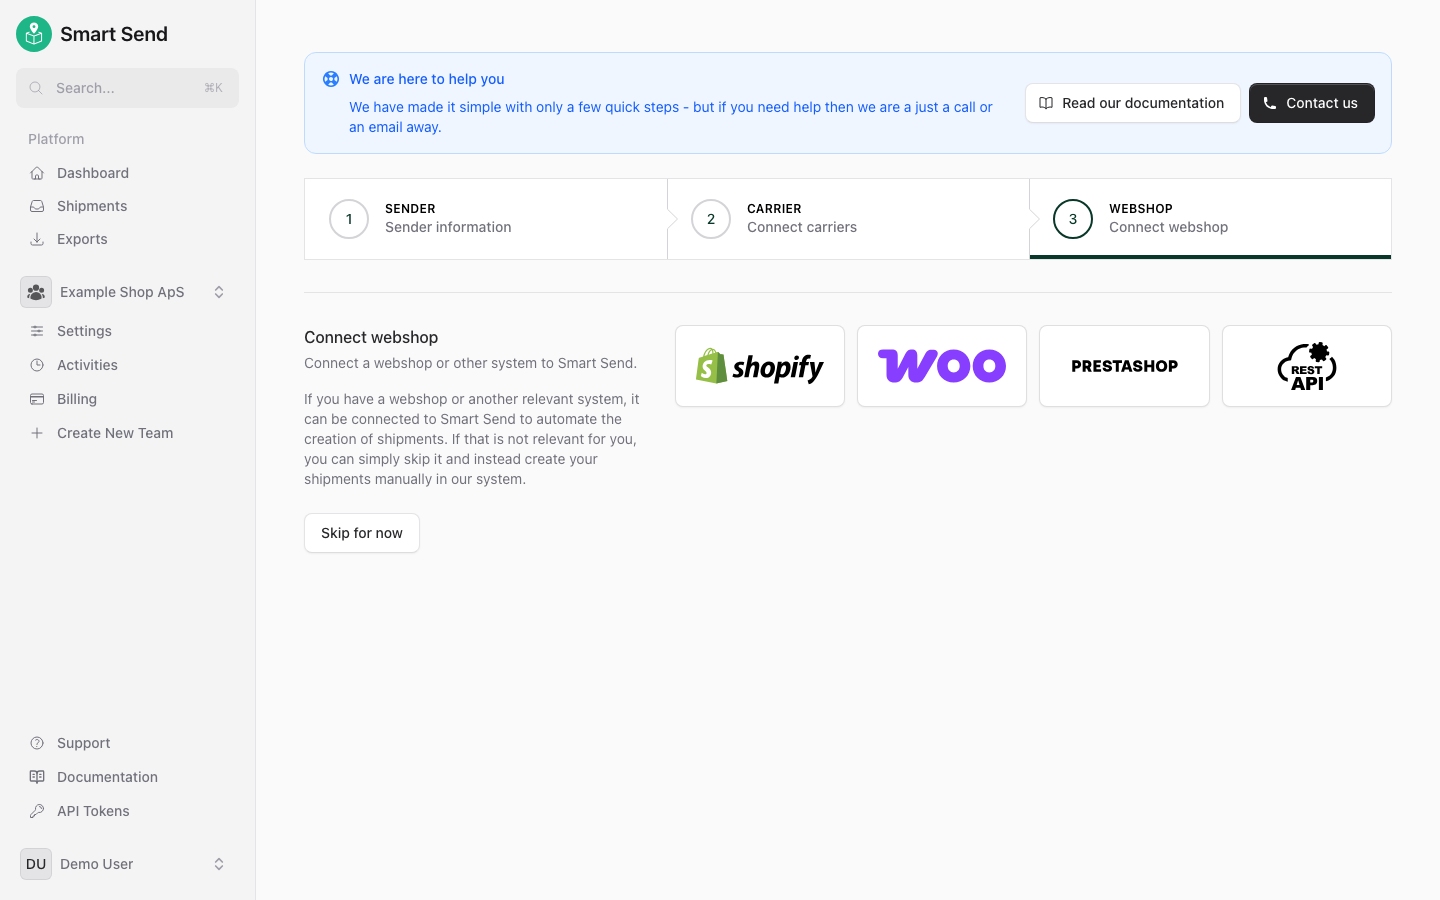
  <Step title="Connect your webshop (optional)">
    For most users, connecting your webshop is the easiest way to manage shipments. Go to <Link href="/integrations/overview">Integrations</Link> and follow the instructions for your platform (e.g., <Link href="/integrations/shopify/introduction">Shopify</Link>, <Link href="/integrations/woocommerce/introduction">WooCommerce</Link>, or <Link href="/integrations/api">API</Link>).

    <img src="https://mintcdn.com/smartsend/nrzFBZazgvLEikrr/images/onboarding/connect-webshop.png?fit=max&auto=format&n=nrzFBZazgvLEikrr&q=85&s=a940fceafd40623a01fd21170fad0884" alt="Onboarding step to connect your webshop" className="rounded-lg" width="1440" height="900" data-path="images/onboarding/connect-webshop.png" />
  </Step>

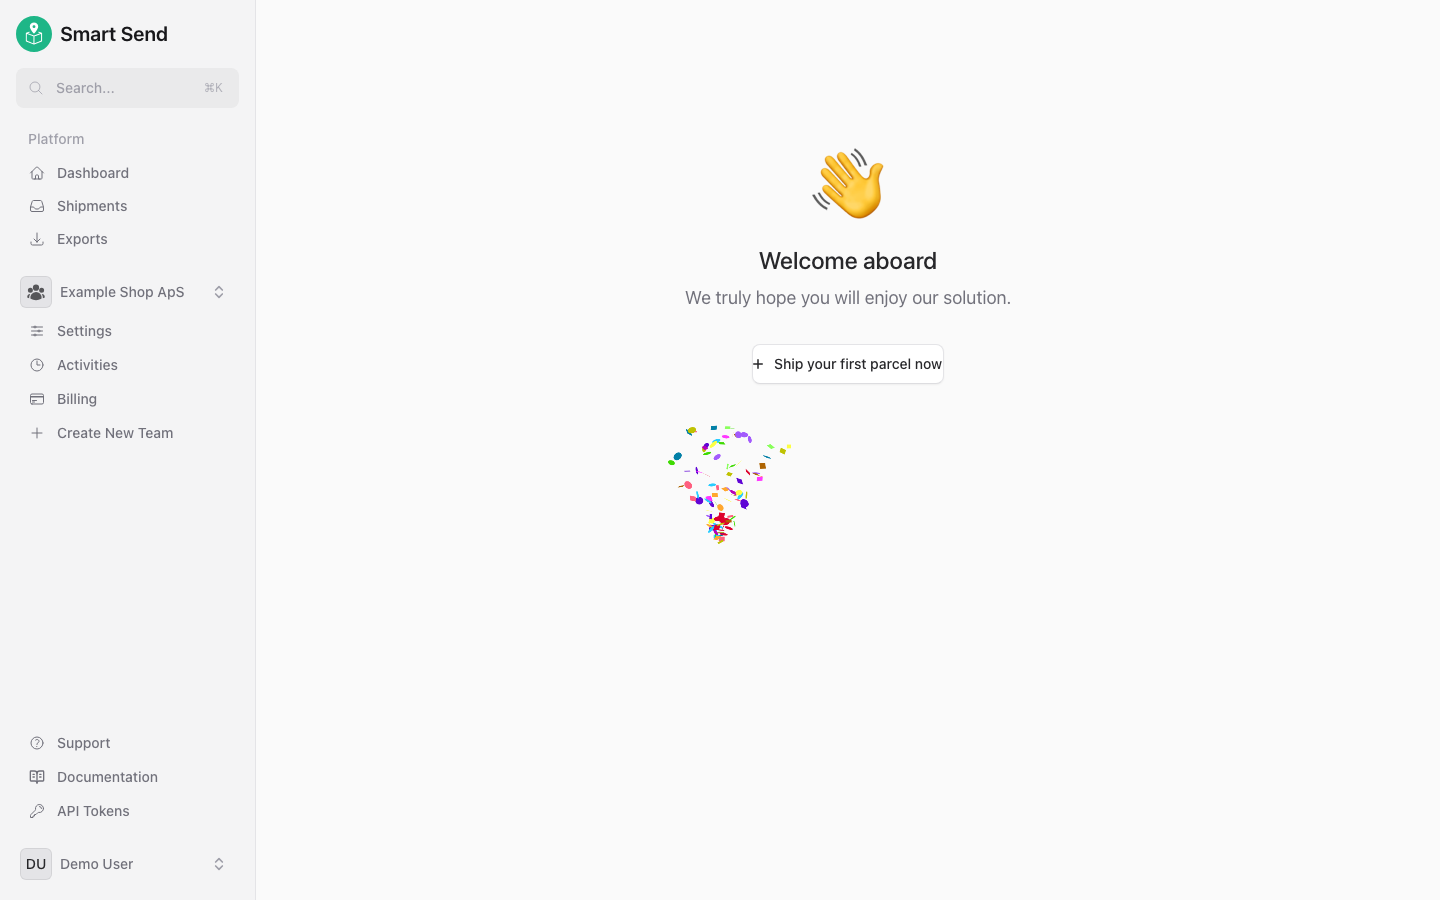
  <Step title="Start shipping">
    Once setup is complete, you can create shipping labels directly in Smart Send or from your connected webshop.

    <img src="https://mintcdn.com/smartsend/nrzFBZazgvLEikrr/images/onboarding/onboarded-success.png?fit=max&auto=format&n=nrzFBZazgvLEikrr&q=85&s=a12d6406e65047167749bf7774da63ee" alt="Onboarding complete success screen" className="rounded-lg" width="1440" height="900" data-path="images/onboarding/onboarded-success.png" />
  </Step>
</Steps>

## Next steps

* See <Link href="/integrations">integration guides</Link> for platform-specific setup.
* Visit the <Link href="/knowledge/knowledge-base">knowledge base</Link> for more in-depth articles.

If you need help, check our <Link href="/troubleshooting/faq">FAQ</Link> or <Link href="/troubleshooting/support">contact support</Link>.