Create your Smart Send account
Use the signup form to create your account. You’ll be logged in automatically and guided through the initial setup steps.Sign up for Smart Send
Create your free account to get started.
No credit card is required to get started. Simply create an account and get 30-day free trial with access to all of our features.
Set up your account
Go to the signup page and create your account. After registration, you’ll be logged in and see the onboarding steps.1
Add your sender address
Enter your main business or warehouse address. This address appears on shipping labels and tracking pages.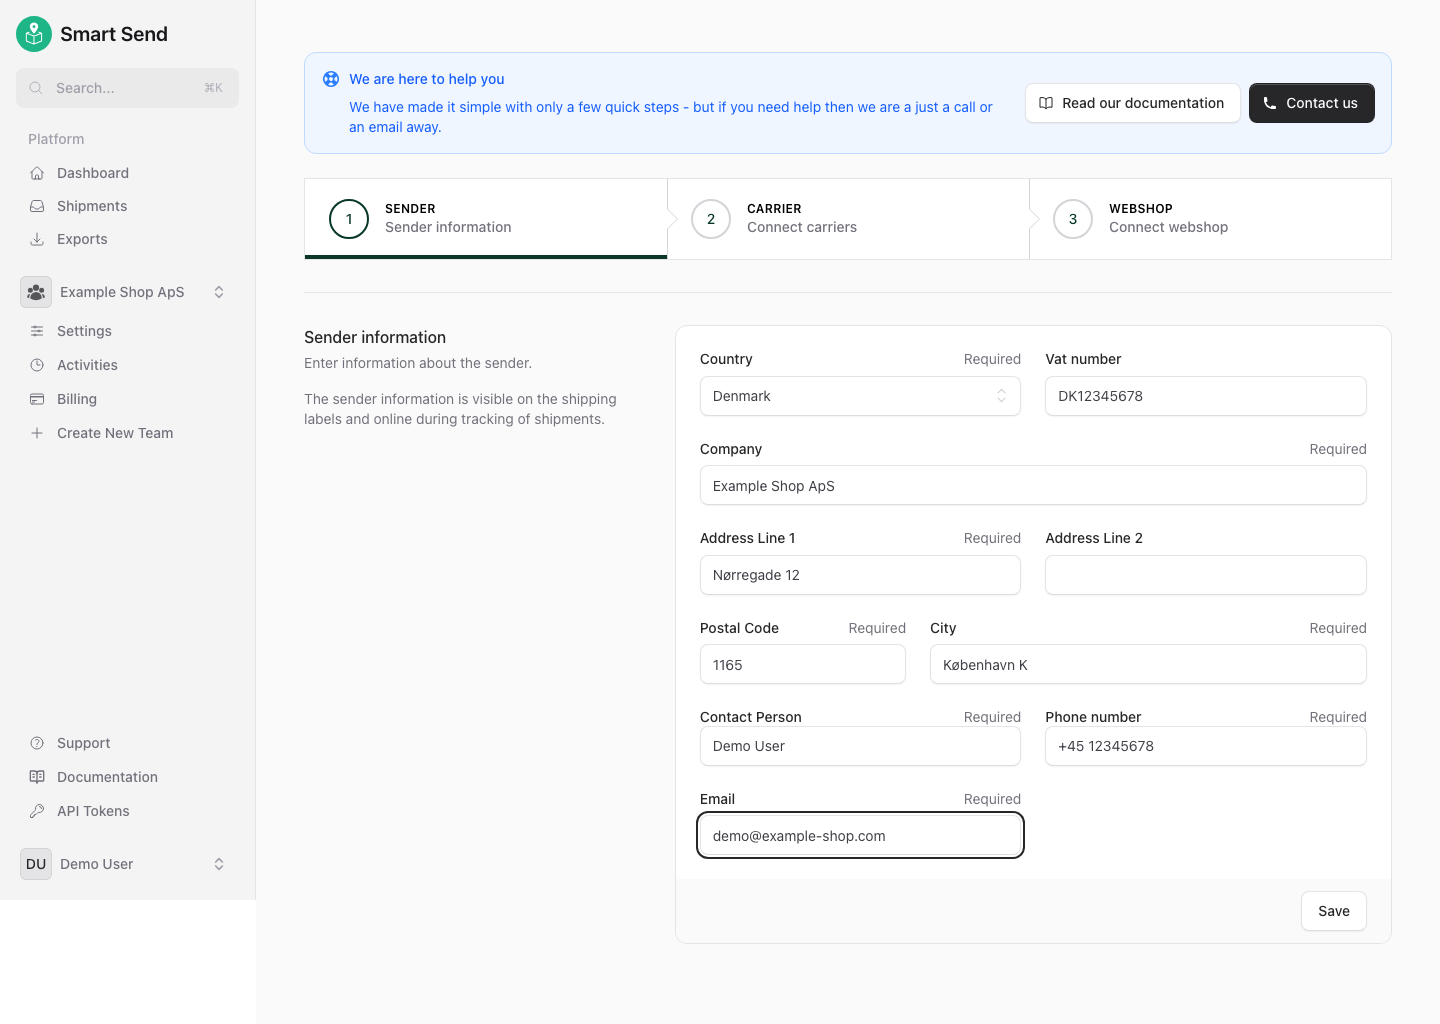
2
Add your carrier(s)
Connect your shipping carrier(s) to enable label creation and tracking. See details for your carrier here.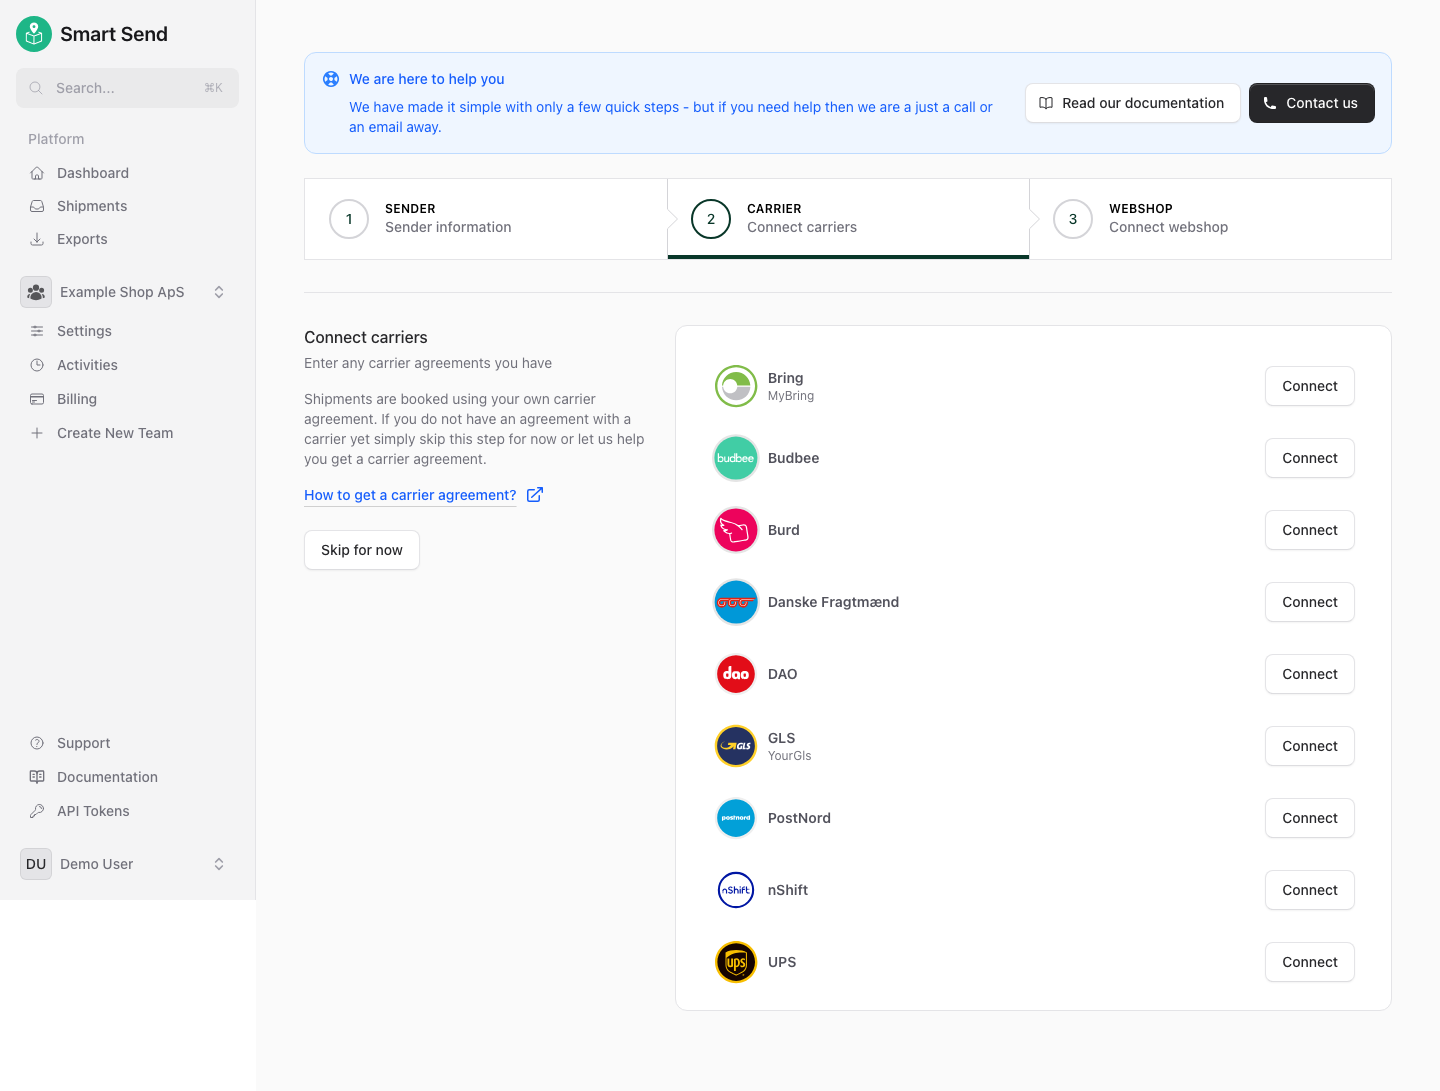
3
Connect your webshop (optional)
For most users, connecting your webshop is the easiest way to manage shipments. Go to Integrations and follow the instructions for your platform (e.g., Shopify, WooCommerce, or API).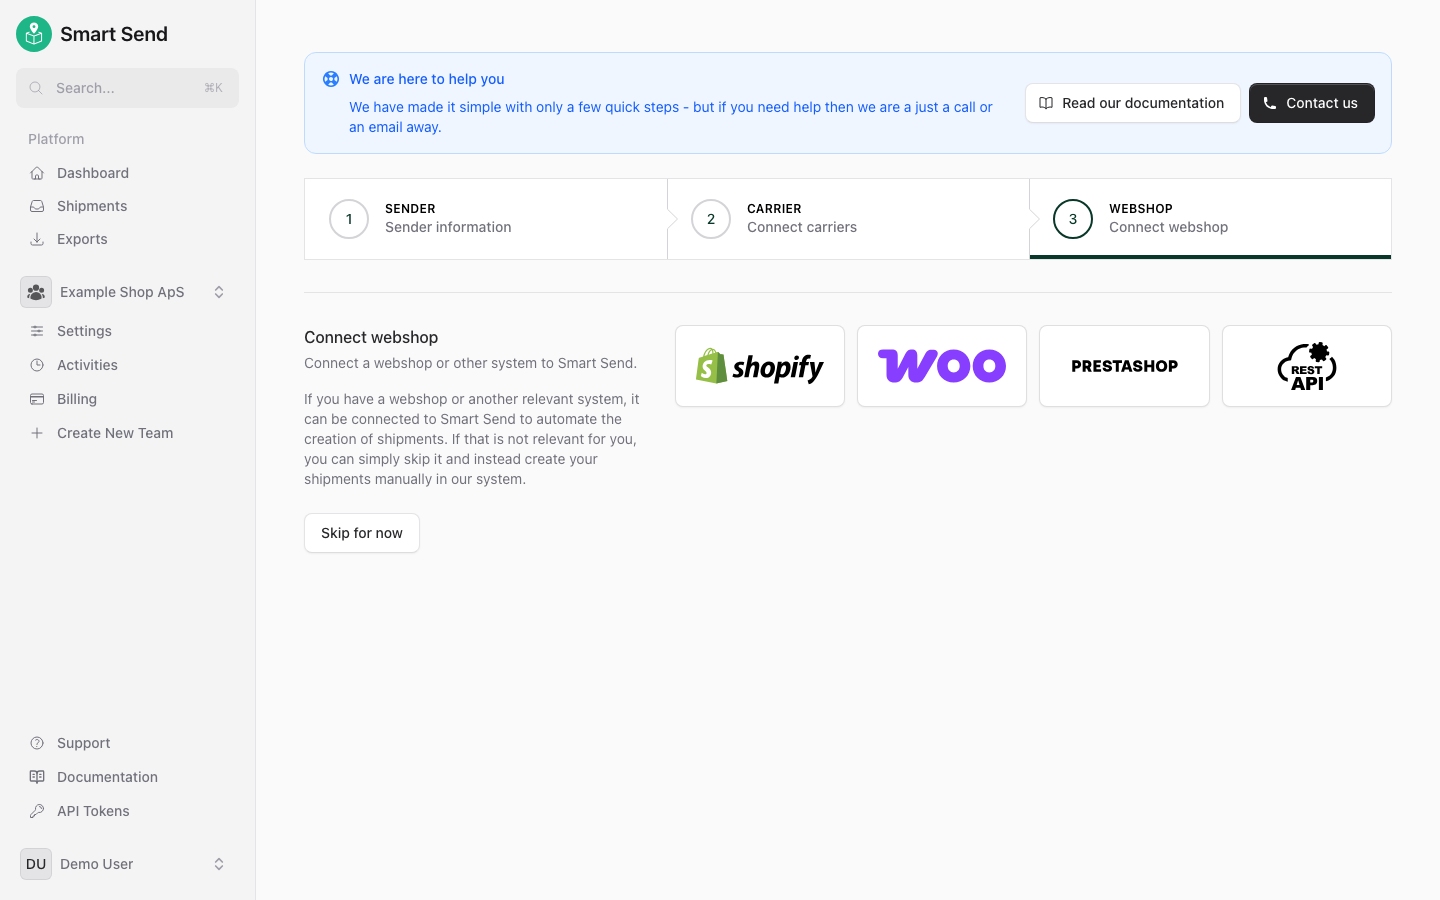
4
Start shipping
Once setup is complete, you can create shipping labels directly in Smart Send or from your connected webshop.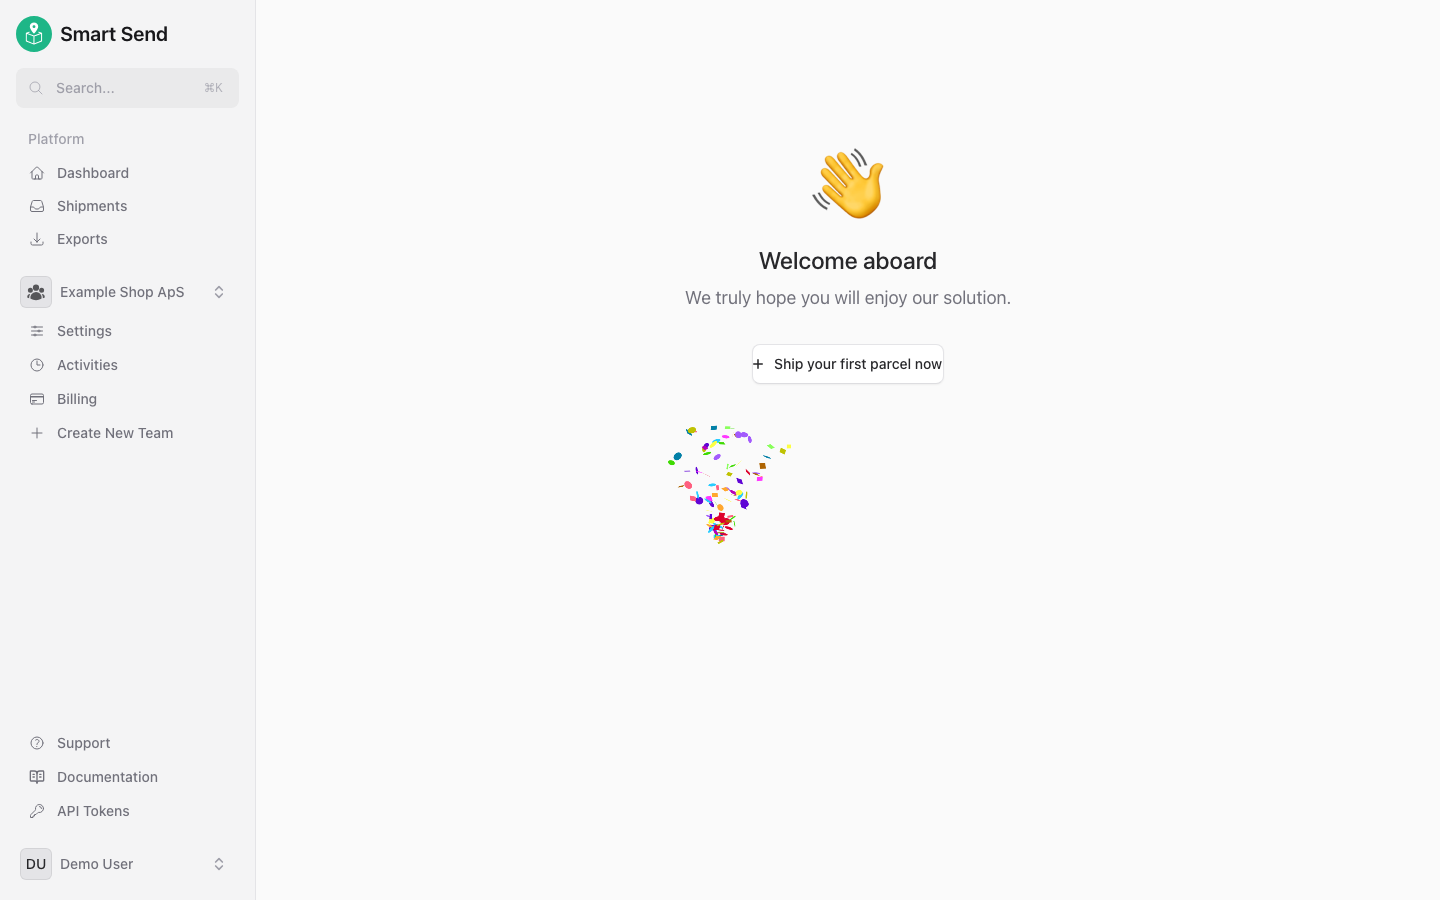
Next steps
- See integration guides for platform-specific setup.
- Visit the knowledge base for more in-depth articles.